Setup and Code
Here are the setup commands and the full code.
python -m venv .venv
source .venv/bin/activate # macOS
pip install ollama
export BRAVE_API_KEY="your_api_key_here"
https://brave.com/search/api/
pip install requests
pip install pypdf python-docx
pip install google-genai
export GEMINI_API_KEY="your_key_here"
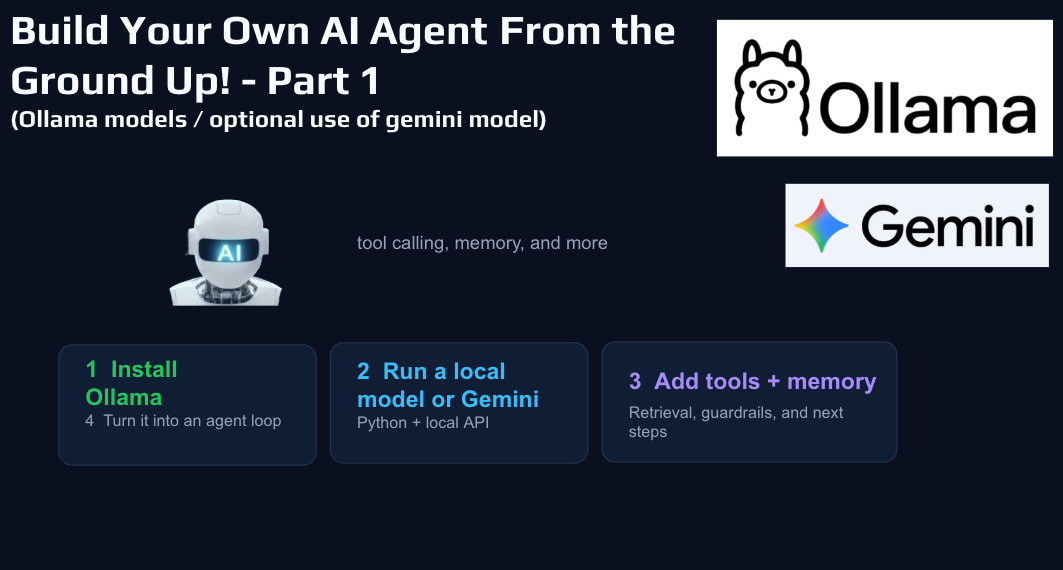
A Practical Guide to Tools, Memory, and a Simple Agent Loop
There has been a lot of talk lately about AI agents, but most explanations stay pretty high level. What I wanted to do was build one from the ground up in a way that was practical, understandable, and actually useful. That is what led me to this local AI agent project using Ollama, with the option to also use Gemini when needed.
Why Build a Local AI Agent?
One of the biggest advantages of building an agent locally is that it forces you to understand the moving parts. When you use a polished AI product, most of the architecture is hidden. When you build it yourself, you see exactly where the prompt lives, how tools are defined, how memory gets injected, and how the model moves from a user message to a final answer.
I also like the flexibility of local AI. You can experiment without relying completely on a paid API, and you can run tests in a more controlled environment. For teachers, students, and anyone who likes to tinker, it is also a great learning project because the logic is visible. You are not just using AI. You are building the workflow yourself.
At its core, the architecture is pretty straightforward: the user sends a prompt, the model reads it, the model can either answer directly or request a tool, the tool result gets added back into the conversation, and then the model uses that result to produce a better final response.
That basic pattern is the heart of an AI agent.
Step One: Get Ollama Running
Before writing any code, you want to get Ollama installed and make sure one model is actually running on your machine.
That is important because it helps separate setup issues from coding issues. If Ollama is not installed correctly, or if the model is too large for your machine, you can end up debugging the wrong thing.
One good takeaway here is to be realistic about model size. It is easy to get excited and download a larger model, but if your computer struggles to run it, that is going to slow everything down. Starting with a manageable model is usually the better move. You can always scale up later.
You Do Not Have to Stay Fully Local
One thing I like about this project is that it is not locked into a single provider. The same overall agent structure can work with a local Ollama model or with Gemini.
That makes the setup much more flexible. If you want the local privacy and control of Ollama, you can do that. If you want to compare results against Gemini or use built-in search grounding, you can switch over without rebuilding the whole project.
Step Two: Set Up the Python Project Properly
Once the model is running, the next step is setting up a clean Python project. This means creating a project folder, starting a virtual environment, and installing the libraries you need. (see commands and code above)
A clean setup gives you a better foundation. It also makes it easier to teach or share with someone else, because they can actually follow what is happening without getting lost in environment problems.
The Agent Loop Is the Most Important Concept
If there is one idea people should understand from this project, it is the agent loop.
The model starts by reading the user’s message along with the system prompt and the available tool definitions. From there, it has a choice. It can answer directly, or it can request one of the tools. If it requests a tool, your program runs that function, captures the result, and adds it back into the conversation. Then the model gets another pass and uses that tool output to produce a final answer.
That is what turns a basic chatbot into an agent.
It is not just predicting text anymore. It is participating in a workflow. It is able to reach outside itself, get information, and then continue the conversation with better context.
That is a much stronger pattern than simply hoping the model already knows the answer.
Why Tool Definitions Matter So Much
One of the most useful lessons from building a project like this is that tools only work well if they are defined clearly.
The model does not magically understand your intentions. It reads the tool schema and the prompt, then tries to decide whether a tool should be used. If your tool descriptions are vague, the model may ignore them or use them badly. If they are clear and specific, tool calling becomes much more reliable.
That means a lot of the quality of an agent comes from structure. Good naming, good descriptions, and good prompt design matter a lot. In many cases, they matter more than people expect.
Adding Memory Makes the Agent More Useful
Memory is one of those features that sounds more mysterious than it really is.
In this project, memory is basically a saved file of notes and preferences. When the program starts, it reads that memory file and inserts the contents into the system prompt. It also reads recent conversation history and keeps a limited number of recent messages.
That is actually a really helpful way to think about memory in smaller AI systems. It is not magic. It is useful context that gets saved and reintroduced later.
I also like that the project makes memory saving practical. If a prompt starts with phrases like “remember that,” “save this,” or “note that,” the system can automatically save it. There is also a manual save button in the interface. That keeps the feature simple and usable without making it feel overengineered.
Custom Instructions Shape the Personality and Behavior
Another important piece of the project is the system prompt.
This is where the assistant’s personality, rules, and behavior live. If you want the agent to be helpful, concise, careful about facts, and willing to use tools when needed, that needs to be stated clearly in the instructions.
Document Tools Make the Agent Far More Practical
Once the agent can read, search, summarize, and create documents, it becomes much more useful.
That is where things start to feel less like a demo and more like a real assistant. But it is also where guardrails become important.
One of the smart design choices in this project is that the agent only works inside one approved folder. It checks the path, blocks path traversal, and limits what file types it can read or create. That may sound like a technical detail, but it is exactly the kind of detail that matters.
A Simple GUI Makes the Project Easier to Use
The Tkinter GUI is a nice addition because it makes the project feel much more approachable. Instead of everything happening through the command line, you get a friendlier interface with chat history, tool activity, and controls for the session.
Switching Between Ollama and Gemini Is a Great Learning Feature
One of the best parts of the project is how easy it is to switch between providers.
That makes it possible to compare a local model against Gemini and see how each behaves with the same architecture. It also lets you experiment with different tradeoffs, like privacy, speed, quality, and search grounding.
I think this is especially useful for people who are learning, because it helps show that the model is only one part of the system. The overall agent pattern stays the same. You are just swapping the engine underneath it.
That is a valuable lesson if you plan to build more AI tools later.
Final Thoughts
If you have been curious about building an AI agent but wanted a more grounded way to start, this is a great first step. Get one model working. Add one tool. Add memory. Keep the system controlled. Then grow it from there.
More to follow!
- AI assisted in writing this blog post